How to Fluff an Artificial Christmas Tree 2026 - The Method, and How Long It Really Takes
This article contains affiliate links. If you purchase through these links, we may earn a commission at no extra cost to you. Learn more.
The short answer
Shape one section completely before you add the next one on top, working bottom to top and from the trunk outward. Nearly every manufacturer that publishes instructions gives that same order, and it is the single change that makes the biggest difference: a tree assembled first and fluffed afterwards has branches you physically cannot reach. Set aside 45-60 minutes for a dense 9ft or 10ft tree — the figure National Tree Company's Amazon listings give for its Dunhill Fir — and under 30 minutes for a 7ft one. Year one is the slow one; every source here says later seasons go quicker.
Quick picks from this guide
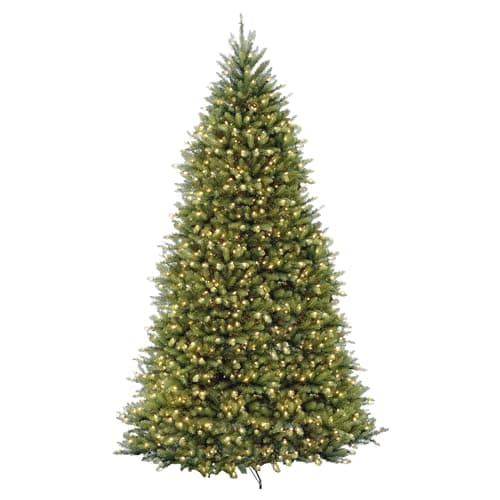
National Tree Company 10ft Pre-Lit Dunhill Fir
This is the most fluffing in the roster, and the clearest published instructions for doing it.
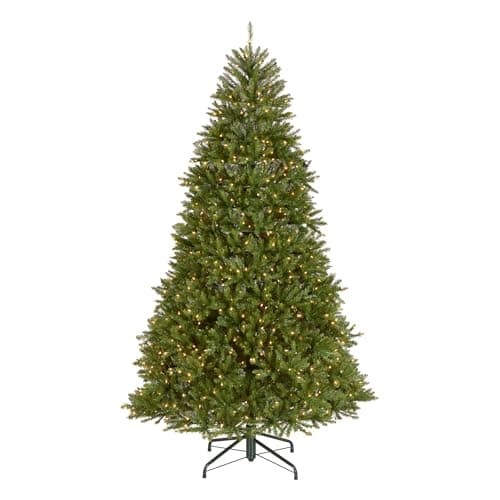
National Tree Company 9ft Pre-Lit Dunhill Fir
Everything above applies one foot lower, and the weight is the reason to think about it: 71.2 pounds instead of 88 is the difference betwee…
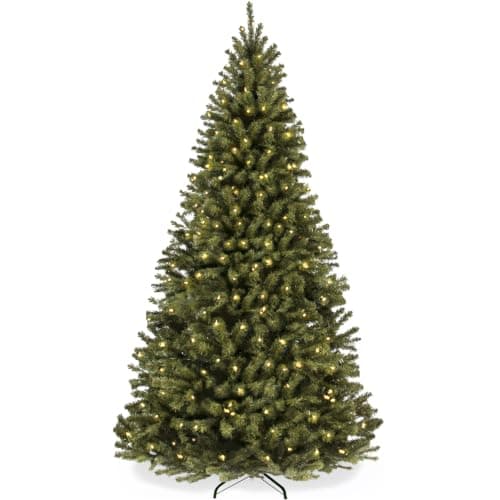
Best Choice Products 9ft Pre-Lit Spruce
Best Choice publishes its numbers openly, in the listing title itself.
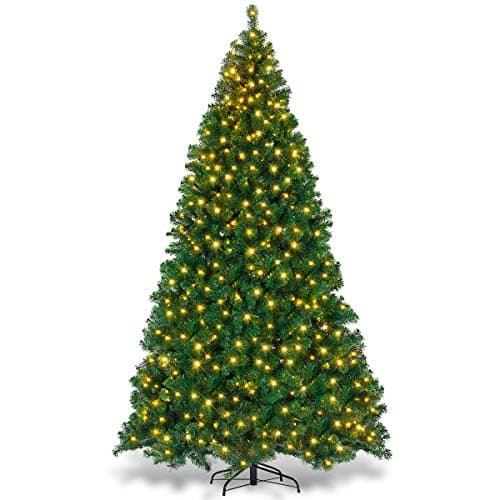
Goplus 9ft Pre-Lit Premium Spruce
Hinged branches that fall into position remove the hooking step, but not the fluffing.
| Source | Published estimate | For what |
|---|---|---|
| National Tree Company | 45-60 minutes on the Amazon listing; "30 mins" on its own site | Its 9ft and 10ft Dunhill Fir — the two surfaces disagree |
| Fraser Hill Farm | "about one hour" | Unspecified size, "depending on the size of your tree" |
| Balsam Hill | 2-3 hours, **two people** | First time out of the box |
| Christmas Tree World | Under 30 minutes, one person | A 7ft tree |
| Best Choice Products | Not stated as a time | Describes assembly as "three steps: ... then fluff and enjoy" |
Why Your Tree Looks Flat Out of the Box
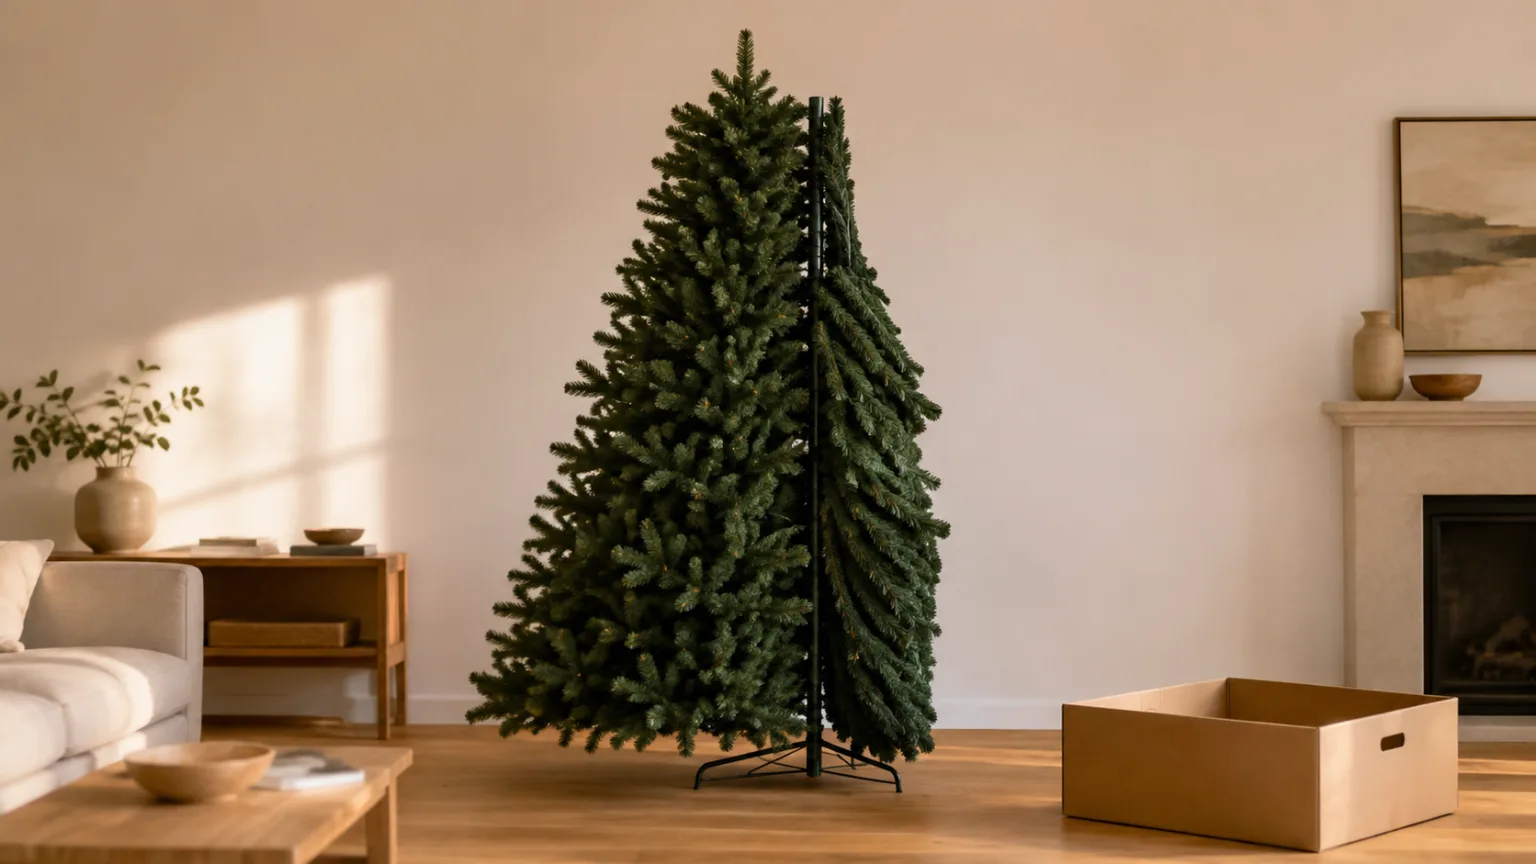
It came out of the carton squashed and sparse. That is not a defective tree, and it is the reason most people go looking for a page like this one.
Balsam Hill puts it plainly — "it might even look a little squished or flat straight out of the box. Don't worry. This is normal and will not impact the look of your tree at the end of the fluffing process." Christmas Central says the same thing: "no artificial tree will look its best right out of the box."
What nobody answers consistently is how long the fix takes. National Tree Company does not even answer it consistently with itself. The Amazon listings for its 9ft and 10ft Dunhill Fir tell buyers to "set aside 45-60 minutes." National Tree's own store pages for the Dunhill line say something shorter: "allow 30 mins to shape branches." The string "45-60" appears nowhere on nationaltree.com.
Where two surfaces disagree we give you both and name which one each figure came from. Balsam Hill suggests "two people to spend 2-3 hours fluffing the tree the first time it comes out of the shipping box." Christmas Tree World says "less than 30 minutes" for a 7ft tree, one person.
Counted in person-hours, the published estimates for what is nominally the same job differ by roughly an order of magnitude.
This guide covers the method, the disagreements, and what changes on flocked and pre-lit trees. It is written as a companion to our 9ft large Christmas tree roundup — big trees are where fluffing matters most, because there is simply more of it to do.
How Long Fluffing Actually Takes
Five companies publish a figure for what is nominally the same job. Their estimates run from under 30 minutes to three hours, and from one person to two.
The spread is not carelessness. It tracks tree density, and the published tip counts bear that out:
- National Tree 10ft Dunhill Fir — 5,090 tips
- National Tree 9ft Dunhill Fir — 4,026 tips
- Best Choice and Goplus 9ft trees — 2,028 tips each
More tips means more individual pieces to separate. The two densest trees in our roster are also the only two that publish a shaping time at all, and Balsam Hill's is the only estimate framed as a two-person job — itself a hint about the trees it applies to.
What every source agrees on is that year one is the slow one. Balsam Hill: "the first time fluffing your tree takes the longest. In future seasons, it will be easier and quicker to get the tree looking its best." Plan the first Christmas with a tree accordingly — put an afternoon aside, not twenty minutes before guests arrive.
The Trees This Method Is Written For
Fluffing effort scales with tip count and height, which is why this guide sits alongside our 9ft large Christmas tree roundup — that is the full comparison, with sizing guidance for high ceilings.
These four are the current roster, price-checked on 2026-08-16. Each one's published tip count and hinge design tells you directly how much fluffing you are signing up for.
National Tree Company 10ft Pre-Lit Dunhill Fir — the most fluffing, and the clearest instructions
Price: $569.66 Check price

This is the most fluffing in the roster, and the clearest published instructions for doing it.
Ten feet tall on a 70-inch base, with 1,200 white lights that "remain lit even when a bulb goes out" — so one dead bulb costs you a bulb, not a dark tier.
The Amazon bullets say only "hundreds of individually crafted branch tips," but National Tree's own store page for this model (DUH-100LO-S) publishes the real number: "5,090 high-quality PVC tips." That is the densest tree here, and on its own listing's estimate the longest to shape.
- Branches: pre-attached and hinged, so they "drop down for a simple set-up and fold back in for quick and convenient storage."
- Shaping estimate: one of the two listings that publish the 45-60 minute figure quoted at the top of this guide — against the "30 mins" National Tree gives on its own site.
- Handling: at 88 pounds it is a two-person setup before any shaping starts.
- Seller and condition: sold by Amazon.com, new, in stock.
National Tree Company 9ft Pre-Lit Dunhill Fir — the same tree, one foot shorter
Price: $439.94 Check price

Everything above applies one foot lower, and the weight is the reason to think about it: 71.2 pounds instead of 88 is the difference between a tree two people can reposition and one they would rather not.
Nine feet on a 66-inch base with 900 lights and, per National Tree's own page for this model (DUH-90LO), 4,026 branch tips. Same hinged branch construction, same fire-resistant hypo-allergenic needles, same 45-60 minute window on the listing — but with roughly a thousand fewer tips to separate, it is the easier of the two estimates to actually hit. Sold by Amazon.com, new, in stock.
Best Choice Products 9ft Pre-Lit Spruce — the tip count printed on the box
Price: $269.99 Check price
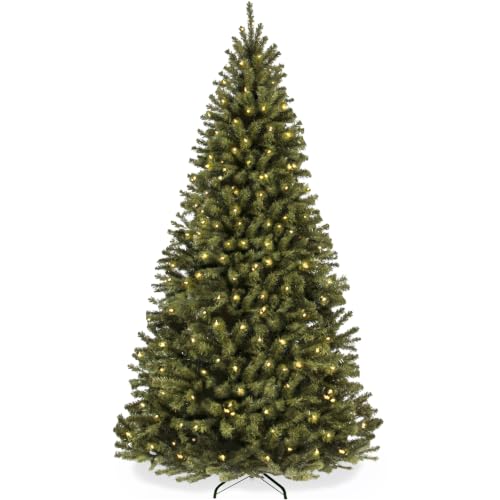
Best Choice publishes its numbers openly, in the listing title itself.
2,028 tips and 900 lights at the 9ft size, on flame-retardant PVC branches with strong metal hinges, 59 inches in diameter. No shaping time is published anywhere on the listing, so the tip count is the only guide you get to how long the job will run.
That 2,028 is the same figure Goplus publishes for its 9ft spruce, and well under half the 4,026 National Tree publishes for its 9ft Dunhill — a useful reminder that two trees of identical height can differ enormously in how much work they are.
The seller on the listing is Best Choice Products Inc rather than Amazon; new, in stock.
Goplus 9ft Pre-Lit Premium Spruce — the auto-spread hinge
Price: $194.99 Check price

Hinged branches that fall into position remove the hooking step, but not the fluffing.
Also 2,028 branch tips, with 700 LED lights and an iron stand, and a hinge design Goplus describes as auto-spread: "all branches will drop to the designed place when the assembly is complete, and it also will close up automatically for storage."
That saves you the hooking step at both ends of the season. It does not save you the shaping — the tips still need separating one at a time. The seller on the listing is GoplusUS; new, in stock.
If you are still choosing a size rather than shaping one you own, our tree size and type guide covers ceiling clearance before you buy.
Before You Start
Five minutes of setup saves an hour of awkwardness.
Put the stand where the tree is going to live. Christmas Central is blunt about why: "set the tree stand where you want to place your tree. Artificial Christmas trees are more difficult to move once they're set up." A fully fluffed 9ft tree is wide, heavy and awkward, and dragging it across a room undoes work.
If the tree has been in a cold garage, bring it inside first. King of Christmas recommends letting it "sit at room temperature for 30 to 60 minutes before shaping."
The reason given is mechanical rather than vague: "cold temperatures make branch wires stiffer and more resistant to bending. A warmer tree is more pliable, which means less effort and a better result."
There is a widely repeated tip that you should let a tree "relax" for several hours or overnight before shaping. We went looking for it and could not find it published by any of the six companies cited on this page — five tree makers and one retailer.
Balsam Hill, National Tree, King of Christmas, Fraser Hill Farm and Christmas Tree World all tell you to shape as you unbox; Balsam Hill goes out of its way to say a squashed tree "will not impact the look of your tree at the end of the fluffing process" rather than prescribing a wait.
So the tip is not repeated here. The 30-to-60-minute warm-up above is the only pre-shaping wait with a source behind it, and it is about cold wire, not decompression.
Wear gloves. This is not fussiness. King of Christmas specifies the actual hazard: gloves "protect your hands from wire ends and branch tips, especially on denser trees."
Balsam Hill includes fluffing gloves in the box and tells buyers to use them. Christmas Central suggests "light gardening gloves." Fraser Hill Farm notes that "the PVC or PE may be slightly rough on your hands." Bare hands on a dense tree means scratches by branch four.
Get light on the job. King of Christmas: "natural daylight or bright room lighting reveals gaps and uneven sections far better than a dim room."
Shake each section out first to clear storage dust before you start handling it.
For a tall tree, get help and a ladder. King of Christmas recommends "a ladder or sturdy step stool for safe access to the upper sections" and "a second person for trees 8 feet and taller, both for safety and to hold sections during assembly." Fraser Hill Farm makes the same step-ladder point.
The Method
Step 1: Work one section at a time, bottom to top
This is the instruction that matters most, and three manufacturers state it independently.
Balsam Hill: "start from the bottom and move upward. It's easier to make each section look great before moving on. If you have a tree taller than you, work on the top section on the ground first before you add the next section on top for easier fluffing."
King of Christmas is more emphatic: "here is the key thing to understand before you start: do not assemble the entire tree first and then shape it. Build and fully shape one section before adding the next."
Fraser Hill Farm agrees: "working from the bottom to top, one branch at a time, will provide a much better result than assembling your whole tree first then trying to fluff afterwards."
The logic is physical. Once a section sits above another, the branches beneath it are in shadow and out of reach, and the inner branches — the ones that hide the pole — are unreachable entirely.
Shape the top section on the ground. Both Balsam Hill and Christmas Central recommend it, and Christmas Central names the real benefit: "try shaping the top section before assembly so you don't have to work on a ladder."
Step 2: Lift the inner branches first
Start at the trunk, not at the tips. King of Christmas: "the innermost branches closest to the trunk provide the tree's structural foundation. Shape these first, then work outward to the surface branches. This layered approach creates depth that single-layer shaping cannot match."
Balsam Hill adds the pattern to use: "lift the inner branches in an alternating pattern. This hides the trunk, fills empty spaces, and gives your tree a lush, natural look."
There is also a specific trick for hiding the pole, published by a UK retailer and independently described by a design publication: take an inner branch tip and wrap it backwards around the branch's own pole. Christmas Tree World describes it as giving "the inside of your tree a layer of depth and expertly hides the internal framework."
Step 3: Fan the mid-branch offshoots
Balsam Hill: "near the ends of the branch, you'll find sturdier offshoots in varying lengths — spread them outward for fullness."
On the wider lower branches, use both hands. Fraser Hill Farm: "you may need to hold two branches (one in each hand) and pull them in opposite directions to make them appear fuller, with a fanned-out appearance." King of Christmas explains the failure mode of not doing this: "single-handed shaping on large branches tends to leave the back half unattended."
Step 4: Separate every tip, and angle each one differently
This is the slow part and the part that produces the result.
Balsam Hill: "quickly and firmly pull apart ends that are stuck together. Our branches are sturdy, so you can fluff with confidence." That last clause is worth absorbing — hesitancy is the most common reason a first fluff looks poor.
King of Christmas: "pull each tip gently away from its neighbors and angle it in a slightly different direction. Tips that fan outward and slightly downward create the layered, needle-like effect of a real tree."
Christmas Central describes the same move as a "V" shape, lifting tips at different angles and working from the trunk toward the tip, and adds the reason for varying them: "for the fullest look possible, make sure each branch is at a slightly different angle than the branches around."
Christmas Tree World is the only source that puts a number on how many tips to handle at once: "in groups of 2 or 3 branch tips, lift each one individually on a 45-90° angle and spread evenly, like a peacock's tail."
Step 5: Follow the tree's natural growth angle
The detail that separates a tree that looks shaped from a tree that looks real. King of Christmas: "real fir and spruce trees follow a graduated branch angle: bottom branches grow nearly horizontal (close to 90 degrees from the trunk), middle branches angle downward at roughly 45 degrees, and upper branches point upward."
Christmas Central makes the same point about the crown: "the small branches near the tree's peak should point toward the ceiling in gradually steeper angles."
One caveat from Balsam Hill: check what your specific tree is supposed to look like, because "some trees are meant to have upswept or downswept branches, so angle the tips accordingly." The photo on the box is the reference.
Step 6: Rotate, step back, and blend the seams
King of Christmas: "shaping from one side only creates an uneven result," and "step back every few tiers. The only way to spot gaps, clumping, or flat spots is from a distance."
Christmas Central names the place people miss: "pay special attention to the areas where sections meet, moving branch tips so sections blend together seamlessly." Section joins are where a tree looks segmented rather than grown.
And the reassurance to end on, also from Balsam Hill: "ornaments help hide small gaps. If a spot doesn't look perfect, just add your favorite ornament."
The Dissent Worth Knowing About
Almost every source above teaches a strict bottom-to-top, section-by-section discipline. National Tree Company's own instructional video says it does not much matter.
Its transcript starts somewhere else entirely — "start in the back because you're going to want to fluff these up to cover the pole. Just keep lifting and separating" — and it ends by explicitly releasing you from the method.
In its own words: "it doesn't matter if you start sections, or you just get right in there and do it with a little time and patience. Just separate all the branches, pull them all out, and you'll have a tree that looks like this."
On branch positioning it is equally relaxed: "change it up any way you want. Maybe I want it here. There's no right or wrong, but you want to kind of separate it and give it a little attention."
That is a major manufacturer contradicting the orthodoxy on its own product page, and it is worth reporting rather than smoothing over.
The reconciliation is probably this: the section-by-section rule matters most on tall, dense trees where reach is the constraint, and matters least on smaller trees you can walk around. The universal part — separate every tip, vary the angles, be patient — is what all of them agree on.
Flocked Trees Need a Different Touch
Flocking comes off if you handle it like a plain tree. King of Christmas is specific about the fix: "hold branches by the underlying wire frame rather than the flocked surface, and make gradual bends rather than sharp angles," and advises you "work slowly and let the branches settle into position rather than forcing them."
It also sets expectations honestly: "some light flocking loss during first setup is normal, particularly on inner branches that were compressed during shipping. This is typically not visible once the tree is fully shaped and decorated."
Budget more time, too. Fraser Hill Farm: "flocked trees may take longer to shape since the branches may have been stuck together during the shipment process."
Our flocked artificial tree guide covers the category's shedding behaviour and storage in more detail.
Pre-Lit Trees: Turn the Lights On First
Counter-intuitive, and every source that mentions pre-lit trees says the same thing.
Balsam Hill: "if your tree is pre-lit, plug in the lights while shaping. Replace any non-working bulbs with the extras included in the box so there are no dark spots." Fraser Hill Farm: "you can turn on the lights to help you see any spots you might want spend more time shaping."
Lit branches make thin patches obvious in a way unlit green plastic does not.
There is also a wiring reason to test before you decorate. King of Christmas: "a single faulty or loose bulb can cause an entire section to go dark because the bulbs run in a series circuit... Fix lights before ornaments go on as it is significantly more work afterward."
Worth knowing: some pre-lit trees are built so this matters less. National Tree Company's Dunhill Fir listings specify lights "that remain lit even when a bulb goes out."
Storing the Tree So Next Year Is Easier
This is where most of next December's fluffing time is decided.
King of Christmas: "how you store your tree directly affects how easy it is to shape the following season. Hastily packed branches that were bent at odd angles are significantly harder to work with the next year."
The practical instructions:
- Compress gradually. "Gently compress each section without forcing sharp bends. Let the branches fold in gradually."
- Use a purpose-made bag or box. These "provide structure that prevents crushing and helps branches retain their position."
- Store somewhere climate-controlled if you can. "Extreme cold makes wire brittle over time; extreme heat can warp plastic components and cause color fading."
- Label the sections before packing.
- Photograph the finished tree. Christmas Central's suggestion, and the best small idea in this whole guide: "take a photo of your fully fluffed tree and tuck it into the storage container after the holidays... a photo will provide a visual reference of your beautifully-shaped tree next year."
One more, for mid-season: branches droop under the weight of decorations. King of Christmas recommends re-fluffing during the season, lifting "drooping tips gently back into position," and distributing weight sensibly in the first place — "place larger, heavier ornaments closer to the trunk on sturdier inner branches."
For bags, boxes and season-end packing generally, see our Christmas storage and organization guide.
Bottom Line
Separate every tip, angle each one slightly differently, and give it more time than you think. That part is universal across every source here, and it is the part that produces the result.
Build and shape one section before you add the next, trunk outward, and you get there faster — Balsam Hill, King of Christmas and Fraser Hill Farm each arrive at that instruction independently.
Budget by tip count rather than by height. The 5,090-tip National Tree 10ft Dunhill Fir ($569.66) is the 45-60 minute job its own Amazon listing describes; the 2,028-tip Goplus 9ft ($194.99) stands as tall as a 9ft Dunhill with barely half the pieces to work through.
The section rule loosens on a small tree you can walk all the way around — the one place National Tree's own video, which dissents from the rule outright, is easiest to agree with. And skip the wait-overnight advice entirely: none of the companies on this page publishes it, as far as we could find.
Last updated: August 2026. Manufacturer shaping instructions, and tree prices, sellers and availability, were verified on 2026-08-16 against each company's published guidance and change on their own schedule — confirm current details through the links above before buying.
Frequently Asked Questions
How long does it take to fluff an artificial Christmas tree?
Published estimates vary widely, and one brand gives two answers: the Amazon listings for National Tree Company's 9ft and 10ft Dunhill Fir say "set aside 45-60 minutes," while National Tree's own product pages say "allow 30 mins to shape branches." Fraser Hill Farm says "about one hour." Balsam Hill suggests two people spending 2-3 hours the first time a tree comes out of the box. Christmas Tree World says under 30 minutes for a 7ft tree, one person. The variation tracks height and tip count, and every source agrees the first year is the slowest — it gets quicker in later seasons.
Should I assemble the whole tree first and then fluff it?
No, on most trees. Balsam Hill, King of Christmas and Fraser Hill Farm all independently say to fully shape each section before adding the next, because branches beneath an assembled section are out of reach. King of Christmas states it as "the key thing to understand before you start." National Tree Company's own video is the notable dissent, saying "it doesn't matter if you start sections, or you just get right in there." The rule matters most on tall, dense trees.
Do I really need gloves to fluff a Christmas tree?
It is strongly recommended by every source here that mentions it, and the hazard is the wire, not the needles — King of Christmas specifies protecting hands "from wire ends and branch tips, especially on denser trees." Balsam Hill includes fluffing gloves in the box. Light gardening gloves work fine.
My tree looks flat and sparse out of the box. Is it defective?
Almost certainly not. Trees ship compressed to save space. Balsam Hill states that a tree "might even look a little squished or flat straight out of the box... This is normal and will not impact the look of your tree at the end of the fluffing process." Christmas Central: "no artificial tree will look its best right out of the box."
Should I fluff a pre-lit tree with the lights on or off?
On. Balsam Hill advises plugging in the lights while shaping and replacing dead bulbs from the spares in the box, and Fraser Hill Farm says lit branches help you see the spots that need more work. King of Christmas adds a practical reason to test early: on a series circuit "a single faulty or loose bulb can cause an entire section to go dark," and fixing that after the ornaments are on is far more work.
How is fluffing a flocked tree different?
Handle the wire frame rather than the flocked surface, and make gradual bends instead of sharp angles — King of Christmas gives that instruction specifically to avoid brushing the flocking off, and notes some light shedding on first setup is normal. Fraser Hill Farm adds that flocked trees may take longer, because branches can stick together in transit.
Do I have to fluff the tree again every year?
Yes, but less each time, and how much less depends entirely on storage. King of Christmas: "hastily packed branches that were bent at odd angles are significantly harder to work with the next year." Compress the sections gradually, use a proper tree bag or box, and take a photograph of the finished tree to store with it as a reference.
Get our Christmas gear picks
Holiday deal roundups and updates when our top picks change.
No spam, ever. Unsubscribe anytime.
Sources & Methodology
Methodology: ChristmasGearHQ guides are researched on an expert-verification model. Specifications, dimensions and capability claims are taken from the manufacturer's own published material and, where available, independent published reviews, and are attributed in the text to the source that published them. Where two sources disagree, we say so and name both rather than picking one. We do not make first-person hands-on testing claims.
Prices, sellers and availability are read from the live product page and move on their own schedule — confirm the current figure through the links above before buying. Edited by Nicholas Miles, Chief Editor. Corrections: contact us.
More Guides
- Christmas TreesBest Cat-Proof Christmas Trees 2026: Cat Tree Towers, Tree Fences and Flat-Back Trees
- Christmas TreesBest 11 and 12 Foot Artificial Christmas Trees 2026: Tall Trees for Two-Story Foyers and Cathedral Ceilings
- Christmas TreesBest Pop-Up Christmas Trees 2026: Collapsible Pre-Lit Trees for Fast Setup and Flat Storage
- Christmas TreesBest Twinkling and Color-Changing Pre-Lit Christmas Trees 2026: Dual-Color, Twinkle and Remote Picks